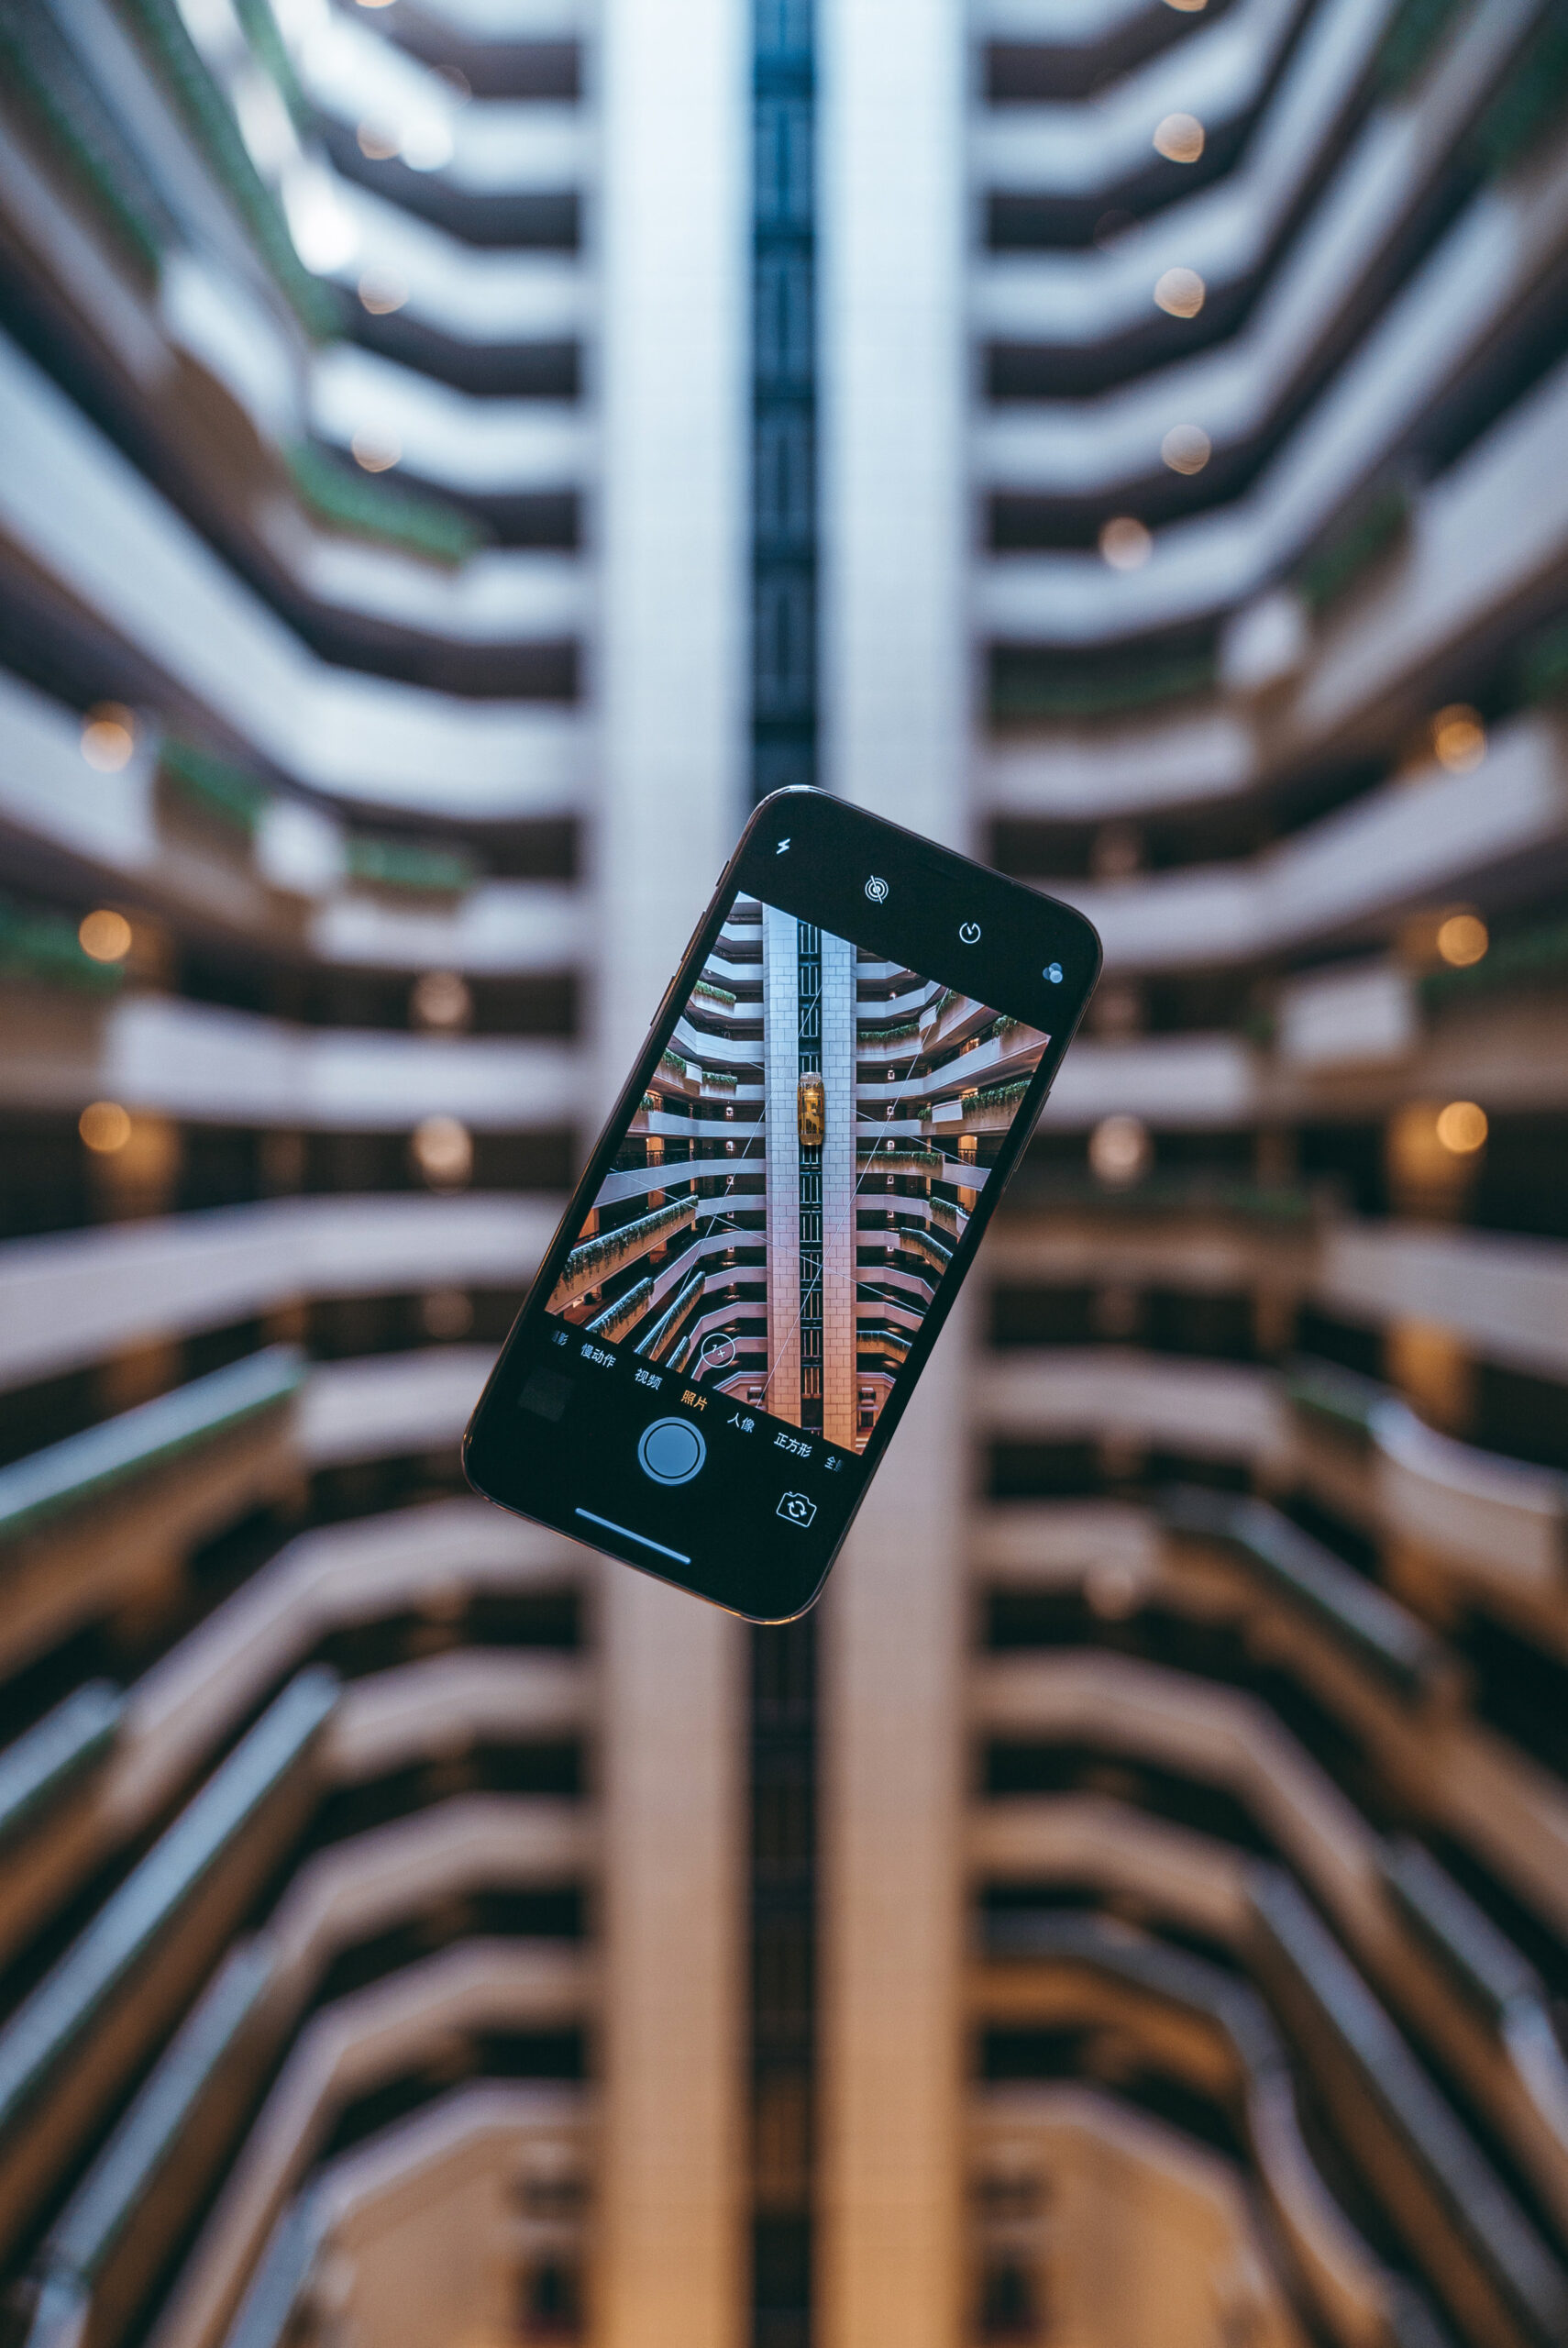
Some of use must have used a digital camera before when taking photos. We transfer the files on our computer and post it on social media. Today, everything is easy as all you need is your smartphone as they come with better sensors nowadays. I personally use an iPhone X in taking most of my images. I prefer the camera color profile on iPhones in general. The results are not too saturated, unlike that of some android smartphone camera, which I really like a lot. The tips that I will give you today will surely make your photos step-up to a new level. Forget being an amateur and let us all be pro-ish!
The Essentials
Clean your lens.
Clean your smartphone camera lens before taking your photo. You can use your shirt, or any clean cloth like a microfiber cloth to wipe away smudges, finger prints, dust and other particles. This will ensure that your photos will be free from unwanted debris.
Good Composition
Grid Lines. This specific setting allows you to compose your photo perfectly. They are like guides for you when taking a shot. Photos shout amateur or unprofessional when the horizon lines look slanted. Grids help you even out the horizons.
Gridlines also help you compose your shot according to the rule of thirds. It is better to take images with the subject in any of the four intersections of the grid. To switch this setting on, open Settings app on your iPhone and select Camera. Tick on the Grid and make sure it is in green indicator.
Using the Rule-of-Thirds creates a room for interest in your photo. But it doesn’t always follow to use this rule. You can break it sometimes according to your preference. Just make sure that you watch your horizons.
Nail your focus.
Focus. Nothing screams unprofessional with blurry photos. You have to make sure that your subject is in focus while applying the rule-of-thirds. In order for you to do this just press on the camera screen your subject and it will be in focus. You can lock the focus of your subject by long-pressing on the screen and wait for the AE/AF Lock indicator.
TIP: You can nail your focus better by zooming in your photo, tap and hold down to AE/AF lock on your subject then zoom out. After which use the exposure dial up and down to change your exposure levels.
I took this photo with my iPhone X. Notice that the subject is focused and the background is blurred out.
Another image with a clear subject and background. It really depends on your preference. Everything seems to be focused when you are shooting subjects far away from the camera.
Forget about digital zoom
Do not ever use digital zoom when taking your photos. If possible get closer to your subject. Zoom will most likely lead to pixelated photos. It is better for you to move a bit closer to your subject. In this way you will be able to get a nice sharp image without any artifacts. You will also harness the lower f-stop of your camera. As for iPhone X or newer model users, they have the ability to zoom using the telephoto lens by 2x. Just stay within this range as if you go over pixelation on your image will be more evident.
Adjust your exposure
You might notice that when you take your photo it may tend to get brighter or sometimes darker. This is because your camera tries to compensate the amount of light coming in the sensor. To manually adjust the exposure levels before taking your photo, hold down the AE/AF Lock on your subject and slide your finger up and down. When you slide up this will increase the amount of light making your exposure brighter. Sliding down makes your exposure dimmer. Adjust them before taking your photo according to your preference.
Use the burst mode
When you hold down your camera shutter it will take shots continuously. This is great when you are trying to take moving subjects like your cat, dog or kids. The phone will recognize one better photo from that bursts of images. You can also manually choose a photo from that series of images by going to the photo in your Camera Roll, click on Select and drag pick on set of photos.
Use a tripod
The use of tripods when taking photos on your smartphone will reduce the risk of blurry images. There are many tripods available in the market today that will suit your needs. You will need a smartphone clip holder and the tripod itself. You can also take your own timer selfies using a tripod.
Use HDR option
You might want to consider using the HDR function of your iPhone. HDR stands for High Dynamic Range. The iPhone will take three different shots in different exposure levels and stitches these into one making a very well-lit photo. You can enable this function by clicking the HDR on the app and choose AUTO.
Use light correctly
iPhones basically have small camera sensors and does not allow more light to get in. You must take photos in a well-lit environment. The best light available is the natural light. These can be in front of your window or outside in a mild sunlight. Pictures will look more natural and pleasing to look at when they are well lighted.
Harness the Golden Hour when taking images like landscapes and portraits as the light from the sun isn’t as harsh as the midday. This can be early in the morning or in the mid or late afternoon when the sunlight is mild and golden.
Shoot with purpose
Always try to tell a story in your photos. This will invoke great interest to your audiences. Try different lighting situations, poses and locations to create mood and diversity in all your photographs. These types of images tend to get more engagement.
So there you go folks! Follow these tips and surely you will have better iPhone photographs using the stock camera app. In the next post I will be teaching you techniques in taking your images using different thirds party applications available in the App Store. Continue your passion in mobile photography. You can share some of them via DM on my Instagram handle @techguyph and I will feature them on next blog! I hope you’ll all have a great rest of the day!


