If you might happen to check my YouTube tutorial on how to save music in iOS without the use of iTunes/PC , this article is quite just a related topic focused on music files. That video reached over 20k plus views and I am overwhelmed. It seem that many of my audiences are using iPhones or iPads.
Okay, so you were able to download all of your favorite music on your iOS. Great! But there’s this one problem. Documents by Readdle app allows you to play your audio content based on the current folder of your music. With that being said, you have a little control on your music listening experience.
I, myself is having a hard time looking for some means to create playlists inside the app. I have exhausted myself to the point of just not to care about it. Yeah, you might think that I can just have to move my music in a specific folder and have it as a playlist. But that is not what I wanted. I don’t want file duplicates of the song if I wanted to list them on different playlists. It will eat my storage in a long run. You got what I mean? I hope so.
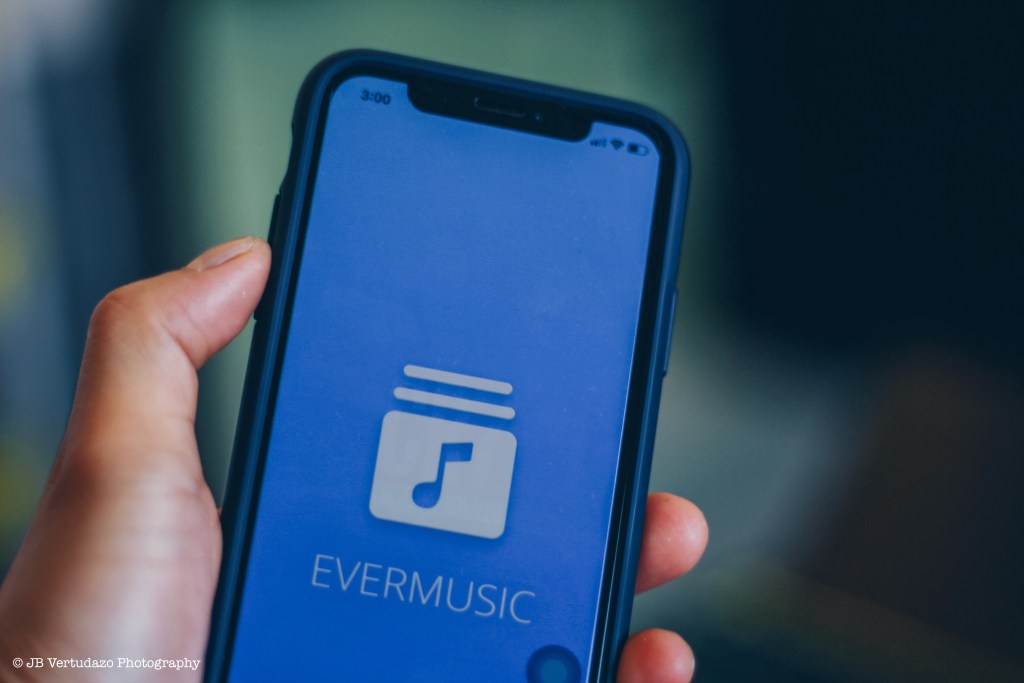
Then I stumbled upon this app called Evermusic. There are two versions of this app in the app store. One is free and one is paid. Of course I hastily chose the free one since I don’t want to shed off another bucks. This app is quite interesting since you can import some of your files from different supported third party apps like Documents by Readdle.
Without further ado, let’s talk about this app. You may click here to download the app yourself. Refer to the image below. You may download either of the apps as they are just the same. But I suggest you first download the free one before upgrading so that you will have the initial experience and never waste your money if you feel you don’t like it in the future.
So you have the app downloaded already and it should look like the photo below. The interface on the iPhone and iPad is quite different. Nonetheless, they are easy to navigate and get used to. On the iPad the interface basically looks like this.
The iPhone interface looks like this. The difference between the two is just the music player tab which is not present in the iPhone interface due to the screen real estate.
On the first tab is where the playlist section can be found. You can just create 5 playlists if you only have the free version of the app. I will provide a summary comparison between the free and paid in a few.
The second tab can house all of your audio media content. This section is self explanatory and easy to understand. I would just like to talk about the Add Songs and the iPod Library. Add Songs tab ONLY allows you to add music from any cloud service like Dropbox, Mega, Google Drive to name just a few. Once you have logged-in to an account you may select your audio contents and download them for offline playback. The iPod Library shows all the music listed locally on your Apple Music (just in case you have any). If you don’t have Apple Music (because we are young, dumb and broke) just don’t mind much about it.
The recent audio playbacks will be listed on the third tab. There is nothing much I have to talk about this section. You know it, I know.
The fourth tab @Connect allows you to link your app to cloud services. I noted the same option in a previous paragraph. You may as well find the Wifi Drive option. If you enable this you can transfer music from your Mac/PC, or other web-enabled devices that supports WebDav. I will speak more on this on a separate blog post.
Files tab is where all your downloaded and imported audio files will be listed. You can arrange your files here in folders for better system. From here, you can also upload your audio files to the cloud.
The settings option of the app is quite extensive. Here you can change the theme of the player, tweak the equalizer, add passcode to the app, manage your file download destinations, change the user language as well as back up and restore your whole music library. There is a lot more you can explore with the settings depending on your liking. If you feel you want to upgrade to pro you can do it in the settings.
The free edition of the app is quite enough for an average user, but if you want to step a little more you might want to consider the upgrade. Consider holding the summary comparison below.
For only $2.99 you can enjoy the most of your music experience with the app. But as what I have said earlier just try the free app first. On my next post I will be doing a tutorial on how to import audio files from different services, creating playlists, and the Wifi Drive.
If subscription to an audio streaming service is not your thing or you are just trying to save your money, this app is a lifesaver.


2 Comments
Hello. This post couldn’t be written any better! Reading this post reminds me of my previous room mate. He always kept chatting about this. I will forward this page to him. Fairly certain he will have a good read. Thank you for sharing.
You actually said it well.